

Before You Stick: Read This!
✌️ 1. Wipe Your Walls
Skipping this step? Your decals might not stick! Use a clean, damp cloth to remove dust and dirt. Let the surface dry completely before applying your decals (minimum 2 hours to be safe).
✌️ 2. Check Your Walls
Decals won’t stick to:
- Unprimed, flaking, or textured walls
- Low VOC or Wash & Wear paints
✌️ 3. Mark Your Placement
Lightly mark your desired position on the wall with a pencil to guide placement.
✌️ 4. Peel & Stick (Start from the Top)
Begin peeling the first tree’s trunk from the top, removing only 10–15 cm of the backing sheet.
✌️ 5. Align & Apply
Align the top of the trunk with your pencil marks, gently stick it on, and adjust if necessary.
✌️ 6. Smooth & Press the Trunk
Firmly press the trunk onto the wall, smoothing outwards to push any air bubbles to the edges. Slowly pull down more of the backing sheet while pressing and smoothing the decal onto the wall section by section.
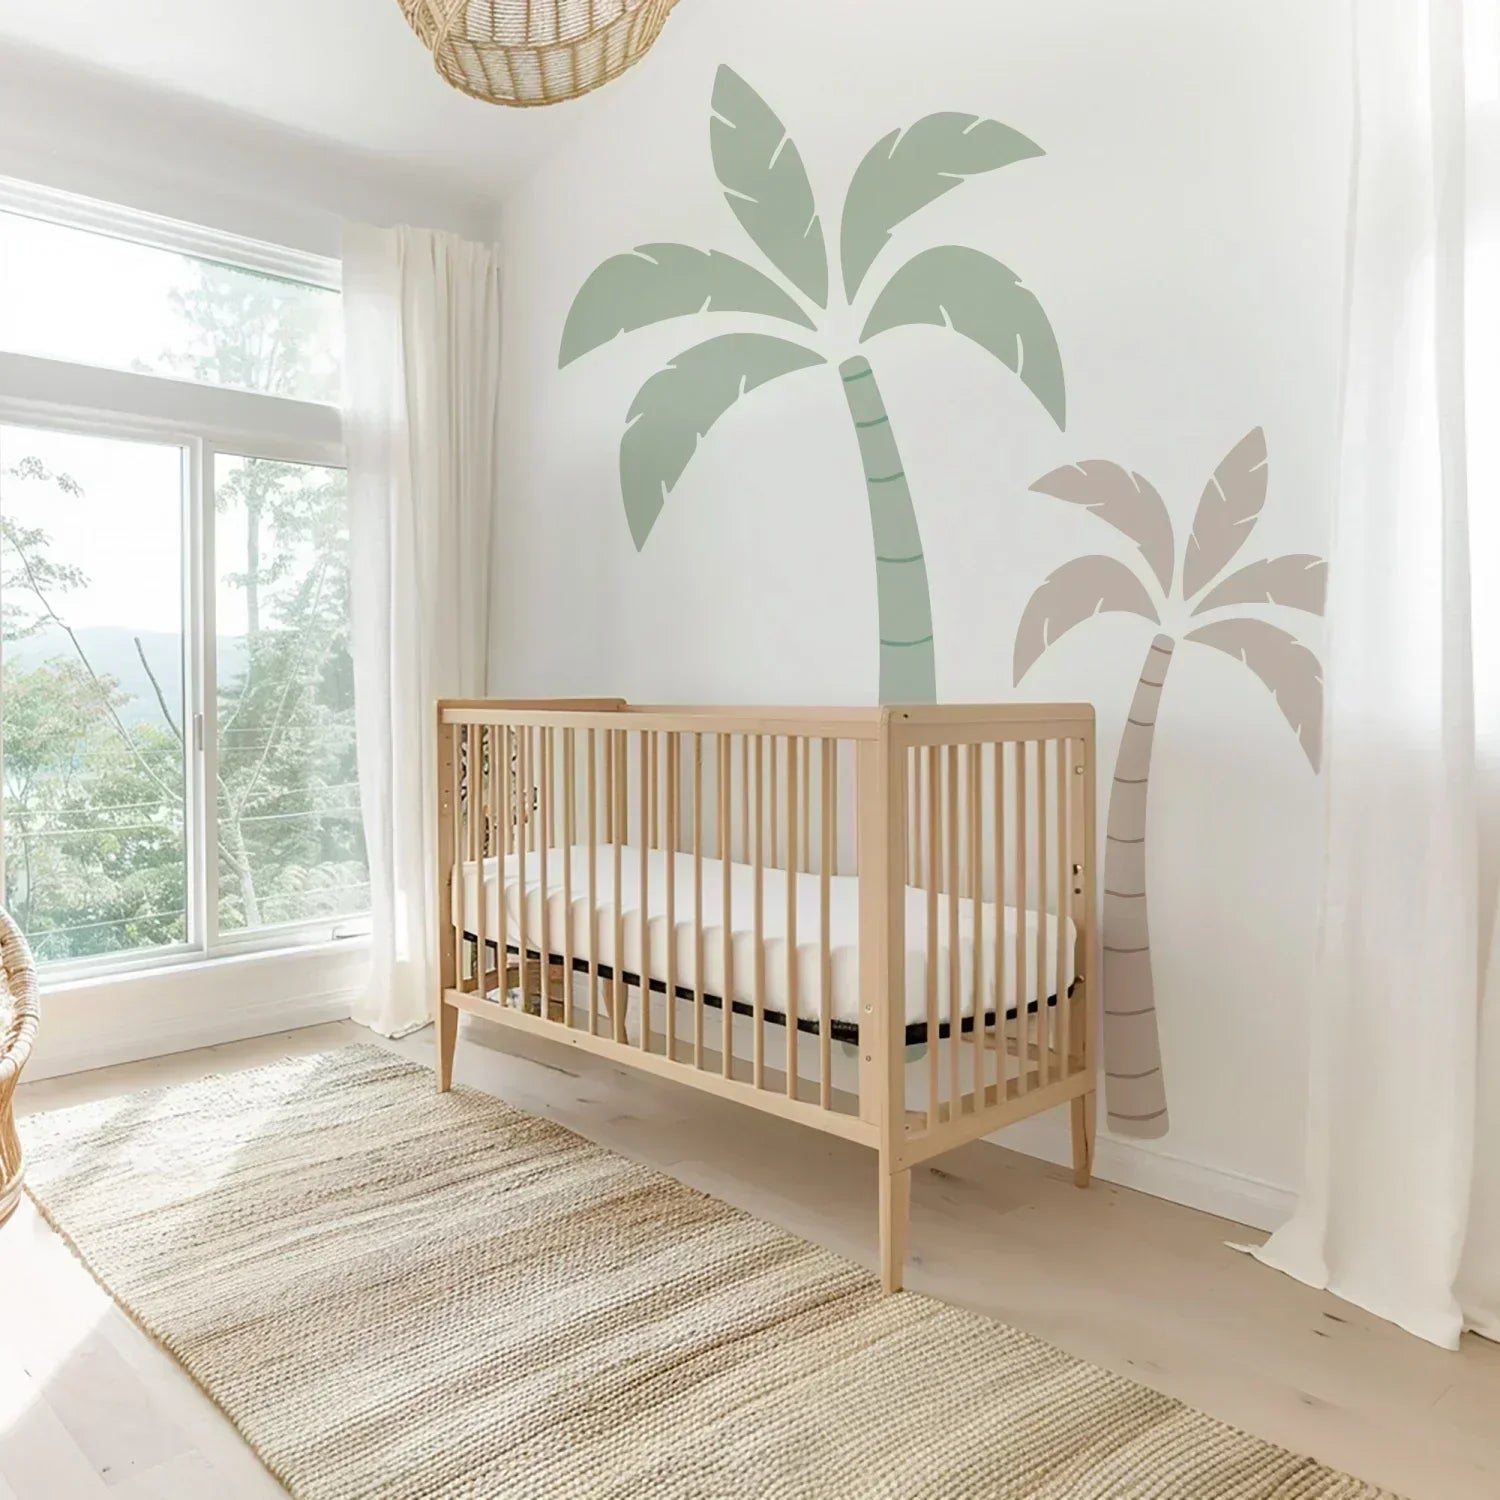
✌️ 7. Add the Leaves (Consult Visual Guide)
Once the trunk is fully applied, refer to the visual guide to correctly position and apply the numbered leaves, following the same peeling, aligning, and smoothing technique.
✌️ 8. Repeat for the Second Tree
Once the first tree is complete, repeat the process for the second tree, ensuring correct placement before applying.
✌️ 9. Save the Backing Sheet
Keep the backing sheet for easy transport if you decide to move or reposition the decal.
✌️ 10. Enjoy Your Space!
Step back and admire your cool new palm trees, effortlessly bringing style to your space!